...
On This Page
Initial Install
...
Database Option
...
If you intend to install Microsoft SQL Server, you may use the following Powershell command to skip parts of the install process.
In powershell, navigate to the directory where skysync-{OS Type}-{Version}.exe exists.
Run .\skysync-{OS Type}-{Version}.exe --install-pgsql 0
...
| Table of Contents |
|---|
Review Database Options
Determine which database you will use:
...
Default Database | Embedded PostgreSQL
...
Ideal for those less familiar with managing separately installed databases
Does not require a paid license, free to use
...
Optional | Hosted PostgreSQL
...
During installation, you may configure a hosted PostgreSQL database that you can manage separately.
...
Optional | SQL Server
...
You can optionally create the database before running the installer. Note that SkySync requires SQL Server 2016 SP1 (or higher) standard.
Log into SQL Server Management Studio.
Create a new database
Set the name appropriately, ie. SkySyncV4
Set the recovery mode to simple
Add the Windows Service Account User or SQL Login to the database
Security > Logins > {Windows Service Account User} > properties > User Mapping > SkySyncV4 > db_owner
|
Overview
DryvIQ provides an installation wizard that walks you through the installation and configuration process. All you have to do is provide the necessary setup or configuration information when prompted. Before you begin, ensure your system meets the basic requirements and that you have the proper server configurations enabled as outlined in the Infrastructure and Hardware Requirements. Also, make sure you review and complete the preliminary setup information provided on this page to ensure successful installation. The installation instructions follow installation for the recommended embedded PostgreSQL database. If you prefer to use Microsoft SQL for the database, you will follow the database setup outlined on the Configure Microsoft SQL Server page at step 13 to set up your database.
| Note |
|---|
If Microsoft Visual C++ 2017 Redistributable version 14.14.26405 or greater is installed on the machine where you are installing DryvIQ, the installer will stop due to an error that the vcredist_64.exe ended with an error exit code. You will need to uninstall Microsoft Visual C++ 2017 Redistributable and restart the machine before you can install DryvIQ. |
| Info |
|---|
Some parts of the installation reference “SkySync.” This is expected. |
Verifying the Installer Properties
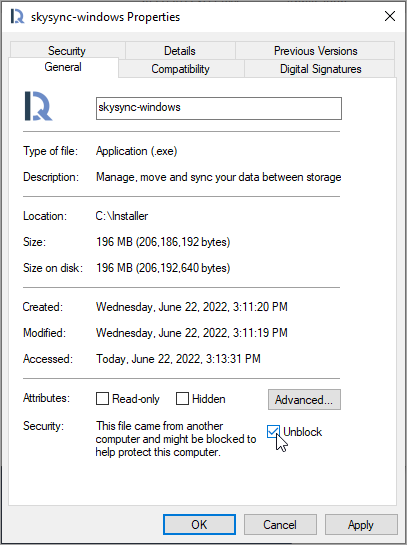
In some instances, Windows will flag an executable as "untrusted" and block it. If this happens with the SkySync installer, there will be issues with the installation or upgrade. Therefore, before you begin, review the installer properties to verify the correct settings.
Right-click on the installer and select select Properties.
You need to verify the settings below.
Read-only should not be selected.
Hidden should not be selected.
Unblock should be selected.
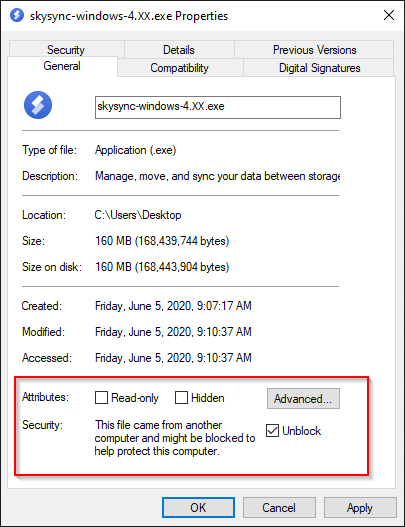
Click Apply Select Unblock.
Select Apply to apply the changes.
Click OK to close the modal.
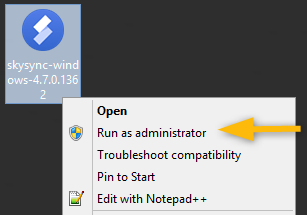
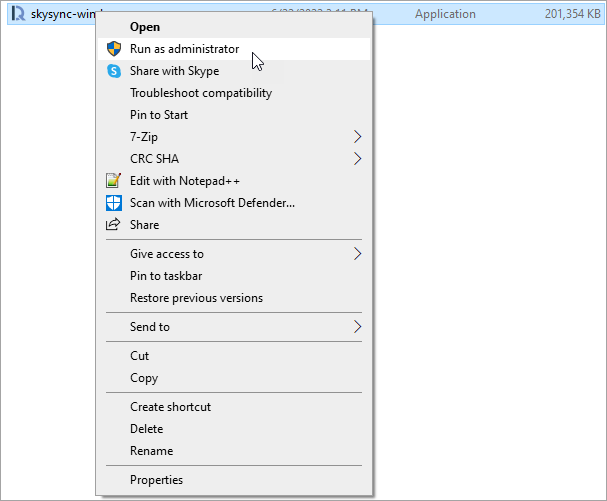
Run as Administrator
To install a new instance of SkySync, follow the steps below.
- Place the installer in a folder on the computer's hard drive (i.e. C:\SkySync), then right-click
Installing DryvIQ
Right-click on the installer and select Run as administrator.
If
prompted, Select Yes if prompted to confirm you want to allow the installer app to make changes to your computerthe device.
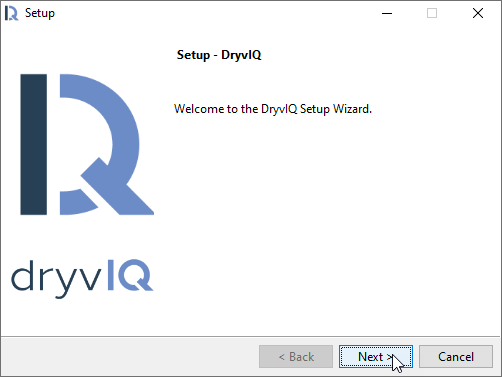
You will see "Welcome to the DryvIQ Setup Wizard." Select Next on to begin the Welcome screeninstallation.
...
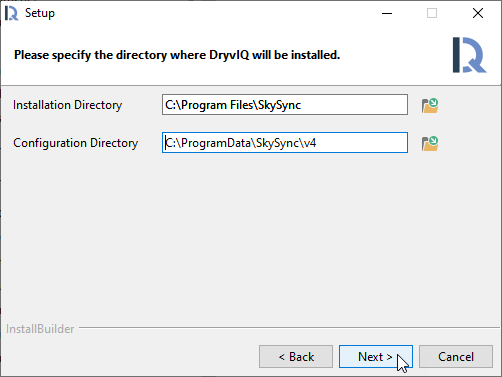
Specify Installation and Configuration directories.
...
Configure Windows Service
...
DryvIQ recommends you use the default settings, but you can specify a different directories if preferred.
Select Next to continue.
Configure the Windows Service account that should be used to run the DryvIQ service and select Next.
The installer defaults to a user named "skysync" with a randomly-generated password.
...
If you plan to re-use this account,
...
We recommend entering your own password.
If you already have an account to run the
...
service, you may enter
...
the account information here.
...
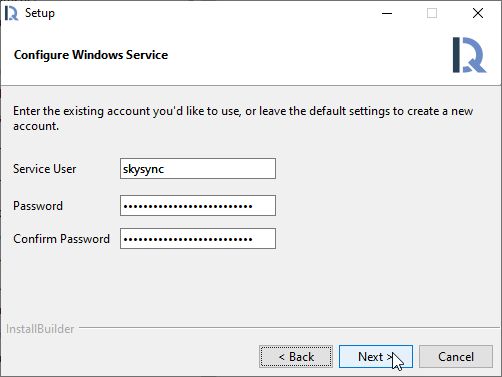
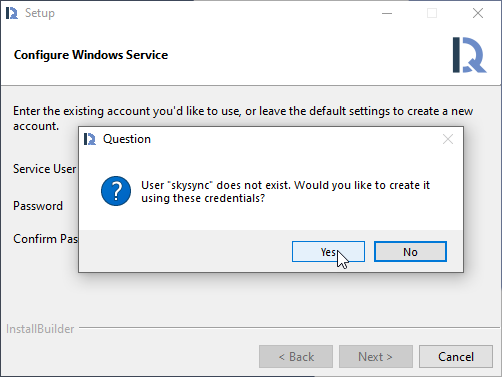
If the entered user does not exist, it will be created as a local Windows account.
...
Begin Installation
| Info |
|---|
If you are using SQL Server with Windows Authentication, ensure that the SkySync service account is a DB Creator. (See Prepare for Installation section.) |
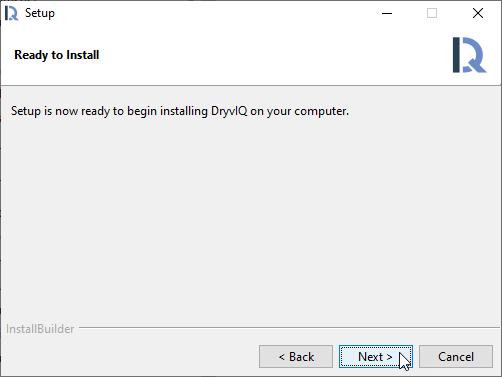
Select Next to begin installation.
...
| Info |
|---|
PostgreSQL program files will be installed by default. This is intended. You may choose a different database further along in the installation process. |
...
When prompted, you must select Yes to create the user.
...
Select Next to confirm you are ready to begin the installation.
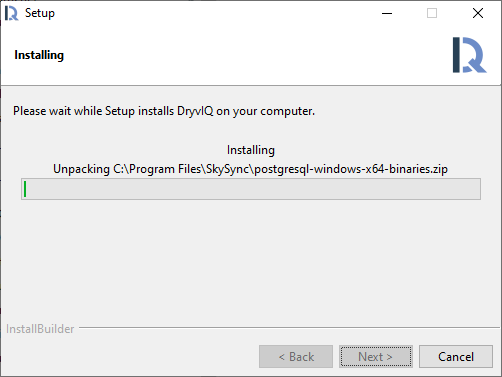
The installation will begin and may take several minutes to complete.
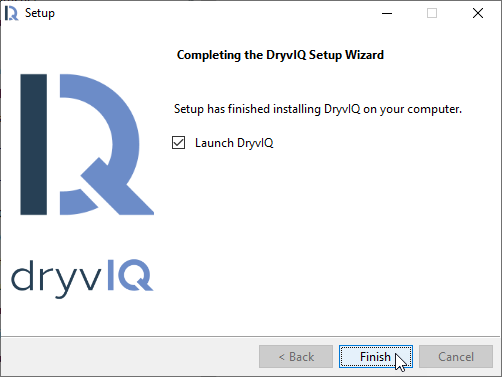
You will see "Completing the DryvIQ Setup Wizard" when the installation finishes.
Ensure Launch DryvIQ is selected and select Finish.
...
A new browser window will launch with the configuration wizard. If your browser doesn't immediately load to this screen, the
...
DryvIQ service might still be starting. Your browser will continue to check until the website is started.
...
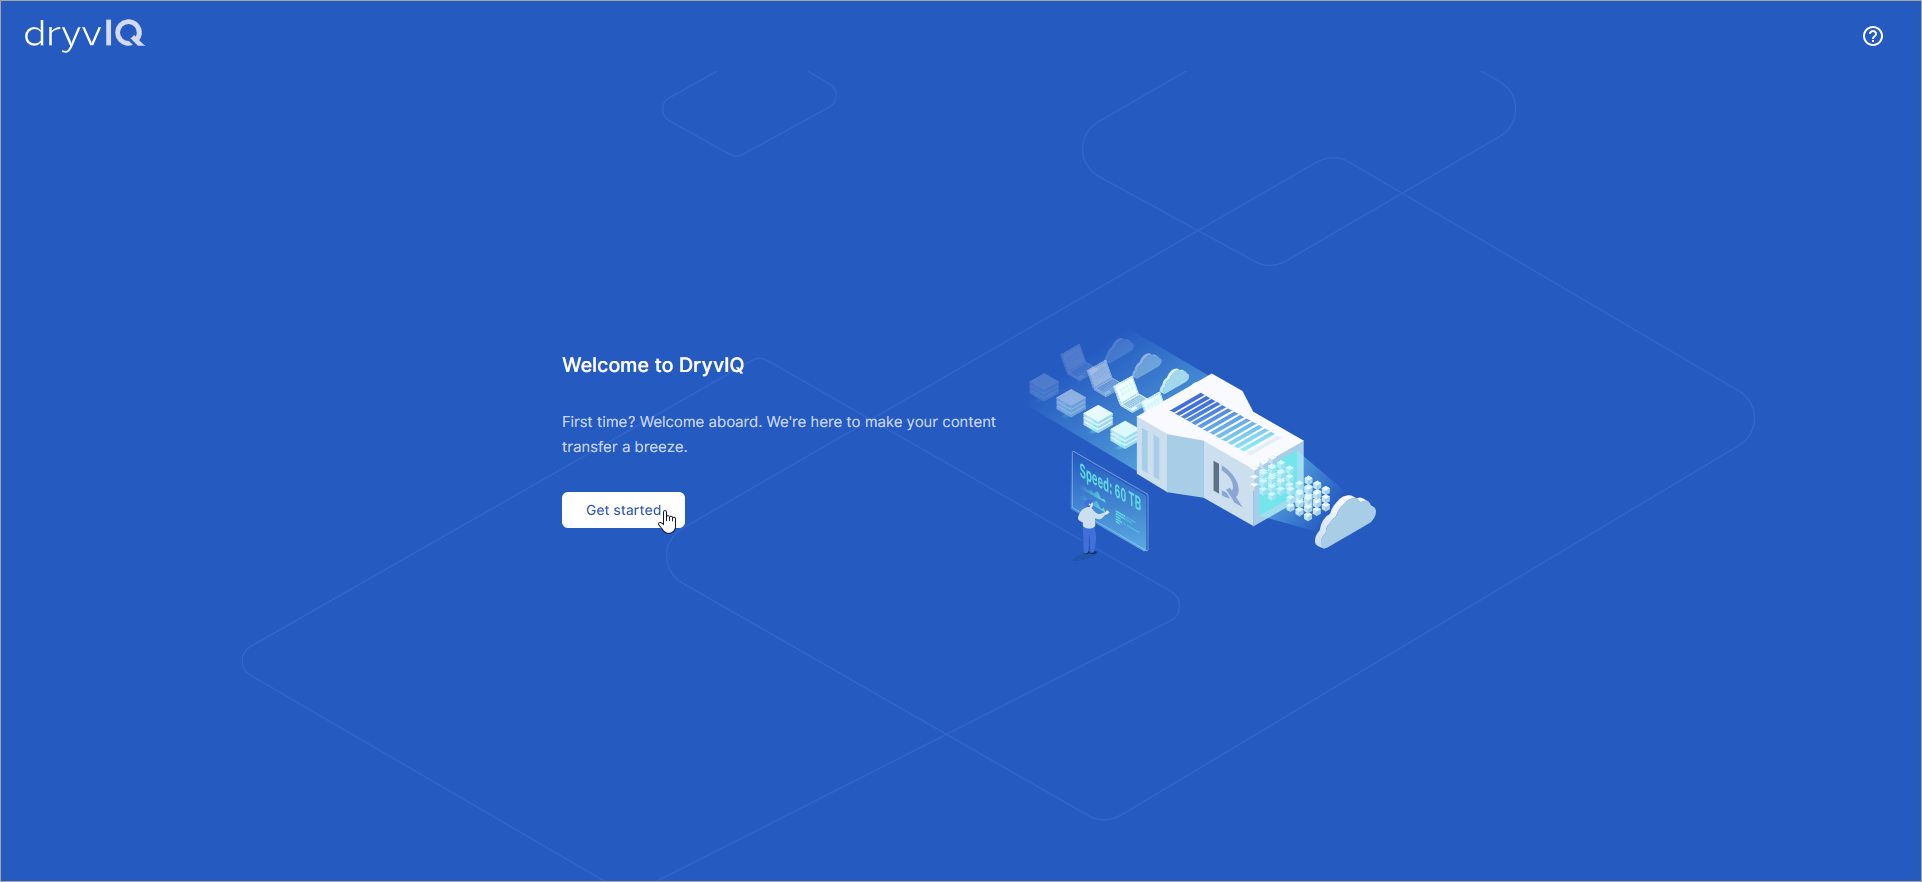
Select Get Started.
...
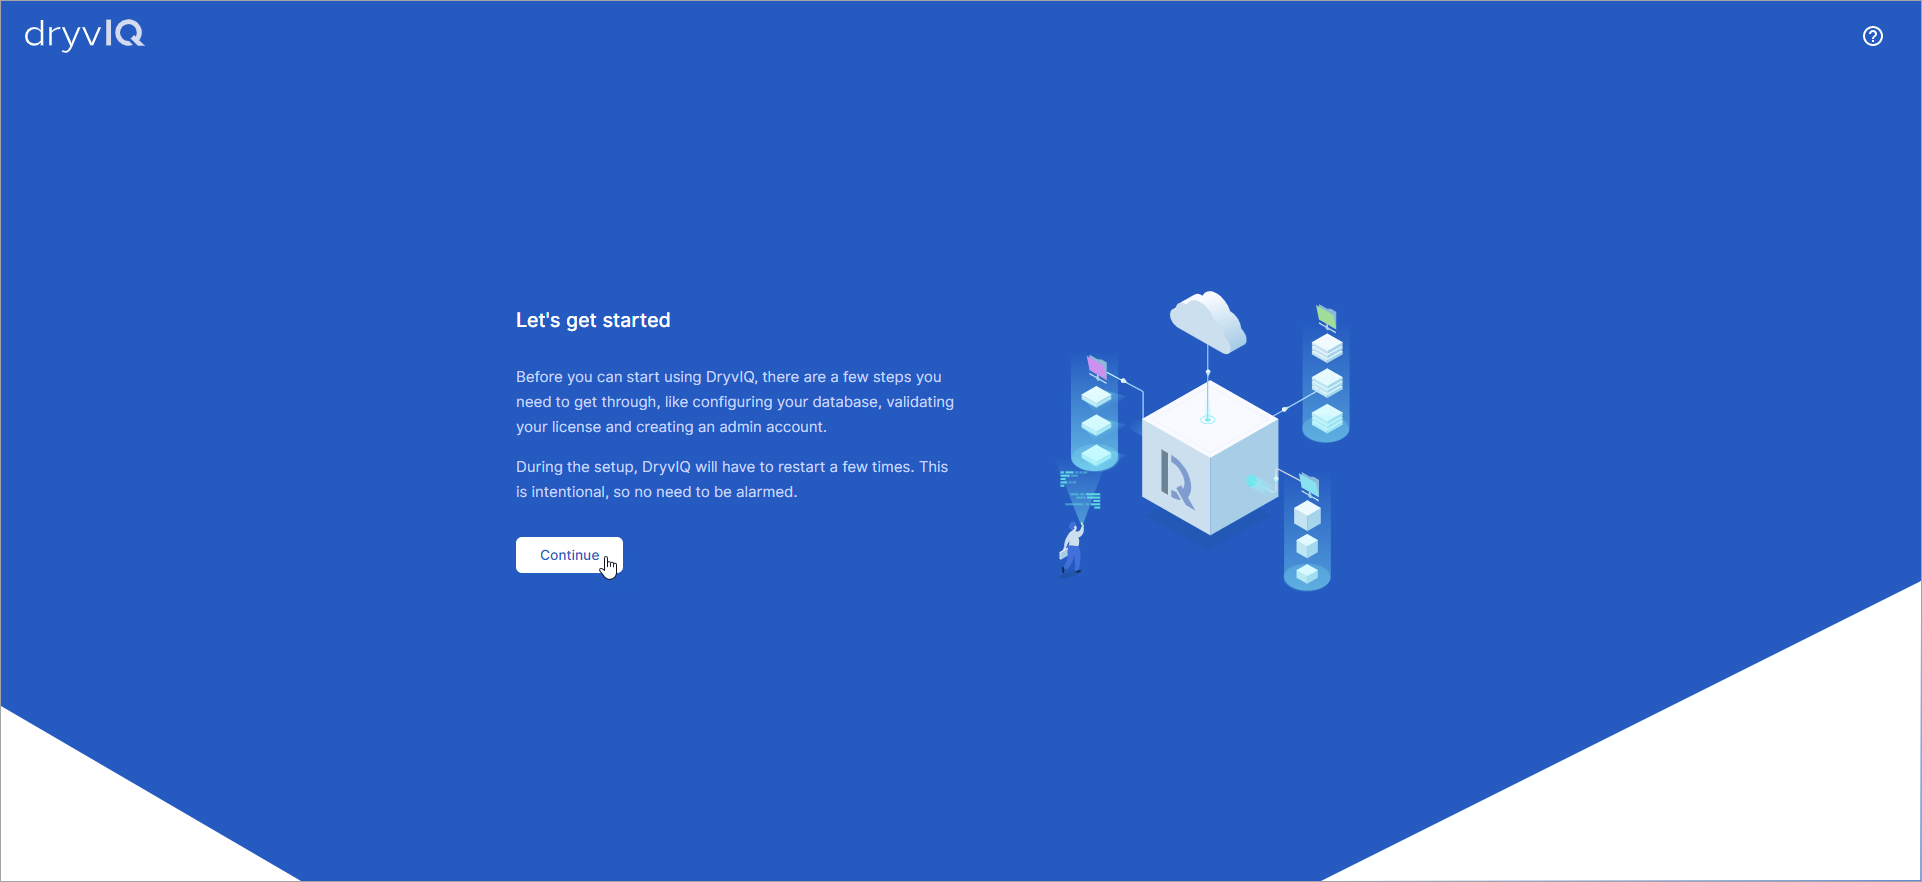
Select Continue on the following screen.
...
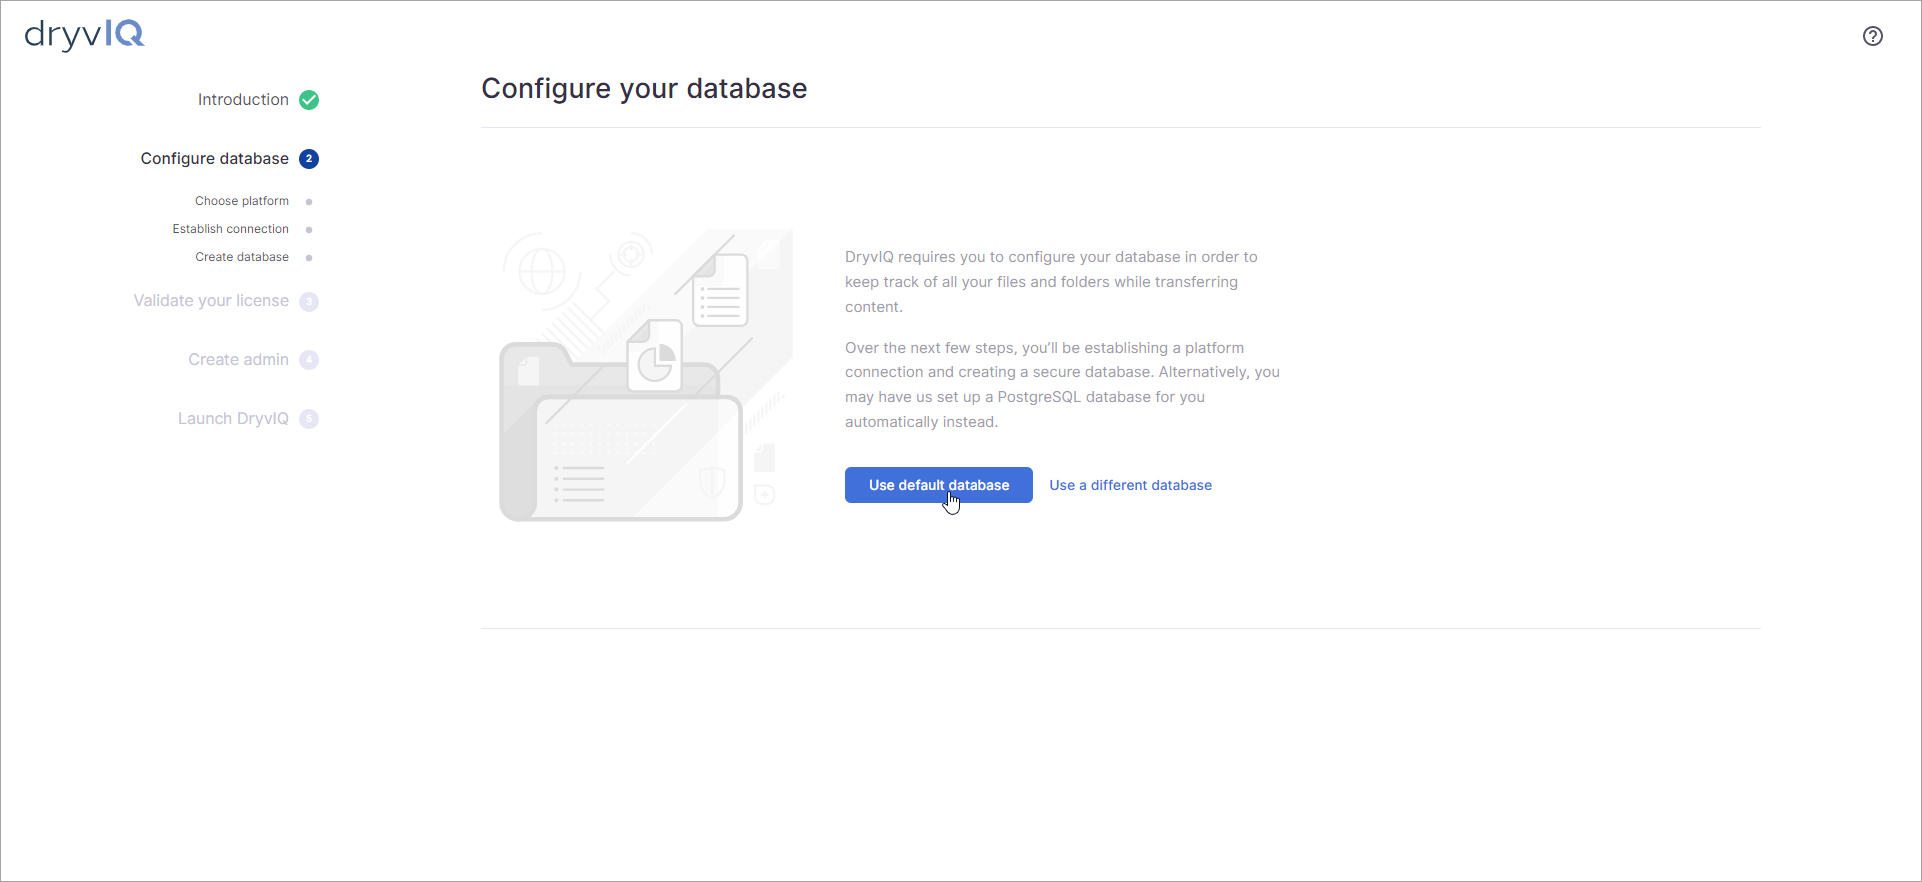
Configure Your Database
...
Default Database | PostgreSQL
...
Ideal for those less familiar with managing separately installed databases
Does not require a paid license; free to use
| Note |
|---|
If you are using a PostgreSQL database, it must be configured to use English for messages. This is required for SkySync to properly deploy the server. |
Here, you can begin building your desired database.
For ease of use, the Use default database option uses an embedded version of PostgreSQL.
If you select Use a different database, you will have the option to either create your own PostgreSQL instance or deploy to SQL Server.
...
Use Default Database | Embedded PostgreSQL
If you select to use the default PostgreSQL database, select Create Database to continue.
...
Use a Different Database | Microsoft SQL Server
If you select to use a different database, the configuration wizard will ask you to select a database provider. Select Microsoft SQL Server from the list.
| Note |
|---|
Important | Please Review SQL Server Encryption |
...
After selecting a database provider, you will be prompted for connection details.
Add the Server name and Database name and select the Authentication.
Select Test Connection when complete to validate your configuration.
You will see a “Connection Successful” message if the database is detected.
If the database is not detected, a warning message will display to indicate that it will be created.

Use a Different Database | Microsoft SQL Server| Use Specific Credentials (Optional)
If you select Use specific credential under Authentication, you will see two additional fields: User name and Password. This allows you to enter the credential required to connect to the database.
...
Configure your Database | Summary
The information provided for your selected database displays. Review it to ensure it is correct. Select Create database to continue.
...
Use a Different Database | Hosted PostgreSQL
If you do not use the default database, the configuration wizard will ask you to select a database provider. Select PostgreSQL from the list.
...
Select Hosted and enter the database information. Make sure you test the connection.
...
Optional Database Connection | Enter Manual Connection String
SkySync supports SQL Server and PostgreSQL databases. For complex database scenarios, SkySync allows you to supply the connection string with the applicable options and format necessary for your database environment. However, these connection strings can be modified with additional platform parameters and values.
...
| Info |
|---|
If connectivity to the database cannot be made with default database configuration options, you may need to utilize the connection string to specify the correct parameters. For example, it is a common enterprise practice to change the default SQL Server port from 1433 to another port, requiring the use of a connection string. |
SQL Server Connection Strings
...
SQL Server | Integrated Authentication (Windows Authentication)
...
Server=SqlServerMachineName;Database=SkySyncV4;Integrated Security=true
...
SQL Server | Use Specific Credentials (SQL Authentication)
...
Server=SqlServerMachineName;Database=SkySyncV4;User ID=SqlServerUserName;Password=MyPassword
...
SQL Server | Always On - Availability Group Listener with Multi-Subnet
...
Server=tcp:AGListenerName,1433;Database=SkySyncV4;IntegratedSecurity=SSPI;MultiSubnetFailover=True
...
Azure SQL DB Standard Connection
...
Server=tcp:[ServerName].database.windows.net;Database=SkySyncV4;User ID=[LoginForDb]@[ServerName];Password=MyPassword;Trusted_Connection=False;Encrypt=True
PostgreSQL Connection Strings
...
PostgreSQL Standard Connection
...
dbProvider=npgsql,dbConnectionString=User ID=PostgreSqlUserName;Password=MyPassword;Host=ServerName;Port=5432;Database=SkySyncV4
Validate Your License
After configuring your database, SkySync will ask you for your license key. Your SkySync license will be provided to you after purchase. It should look something like this: 01234567-0123-0123-0123-0123456789ab.
| Note |
|---|
If you do not have your license key, please contact SkySync Support. |
Select Get started.
...
You will see a screen that explains the configuration you will need to complete and that the DryvIQ service will be restarted multiple times during the configuration process. Select Continue to begin.
First, you will configure your database. Select Use default database. (If you will be using Microsoft SQL Server, refer to Configure Microsoft SQL Server for instructions on how to configure the database.)
The database information displays for review. Select Create database to continue.

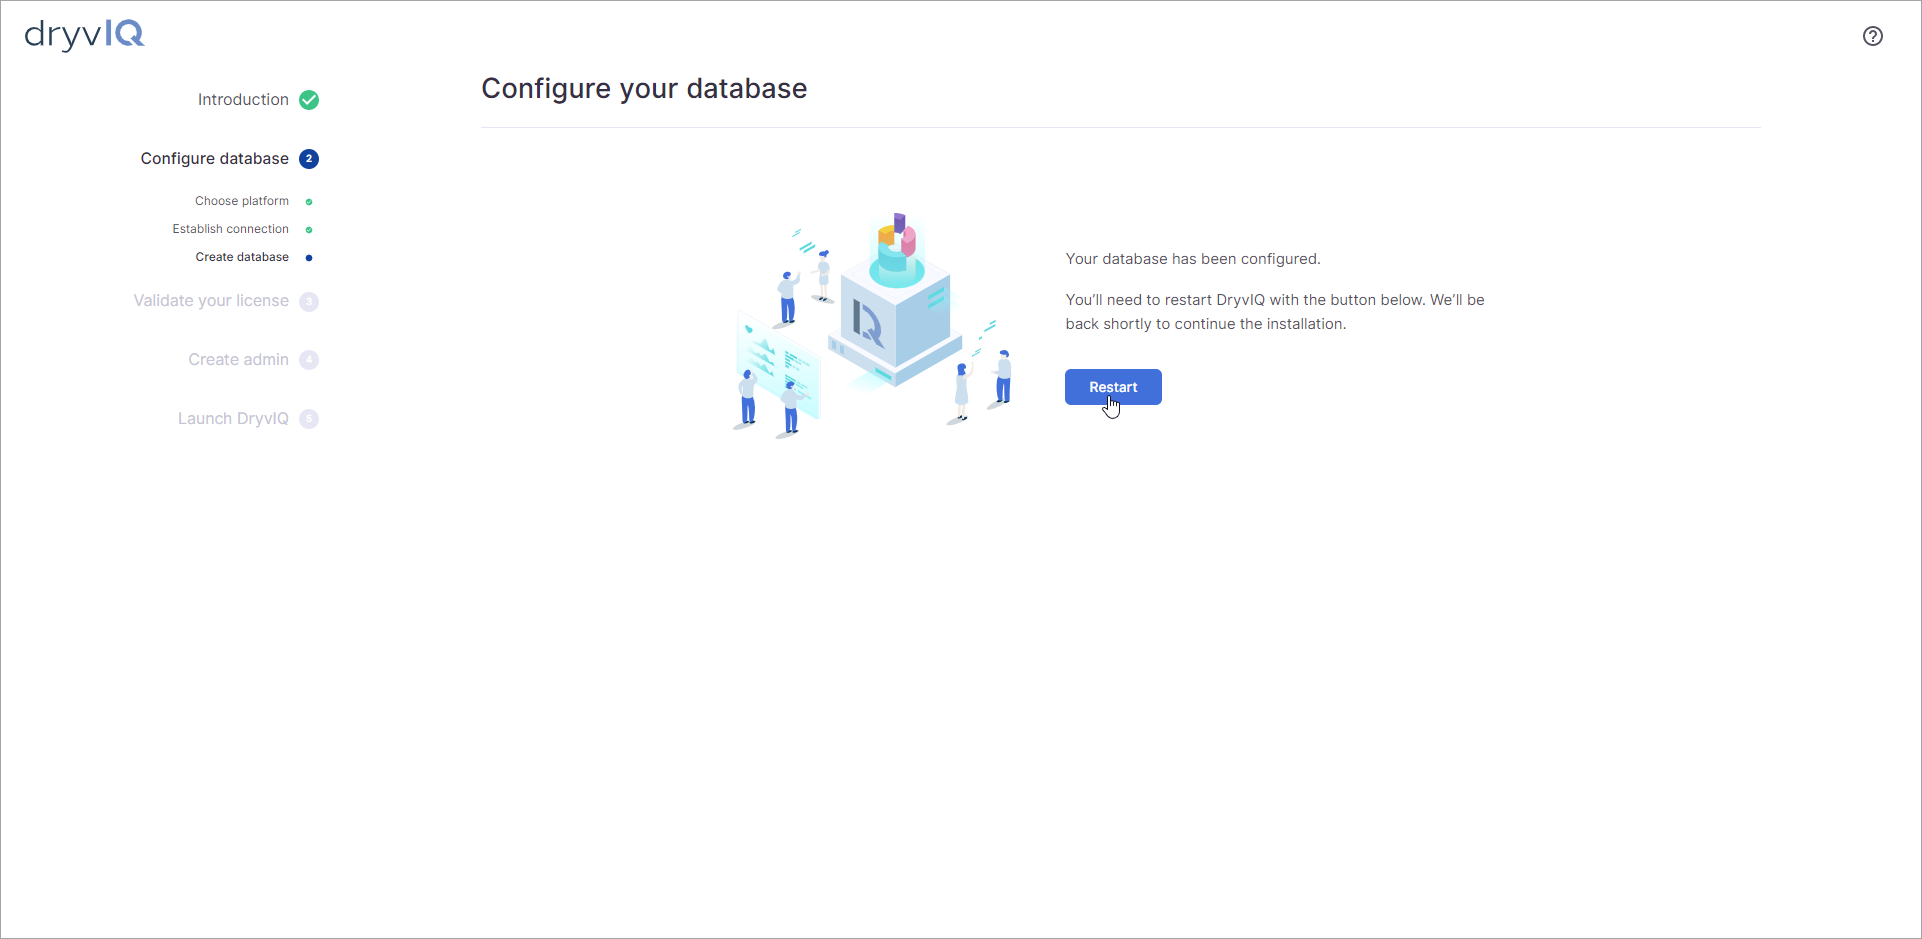
DryvIQ will begin configuring the database. When it is done, you will be prompted to restart the DryvIQ service. Select Restart.
Next, you need to validate your license. Select Get started to begin.
Anchor Installation-Step-16 Installation-Step-16 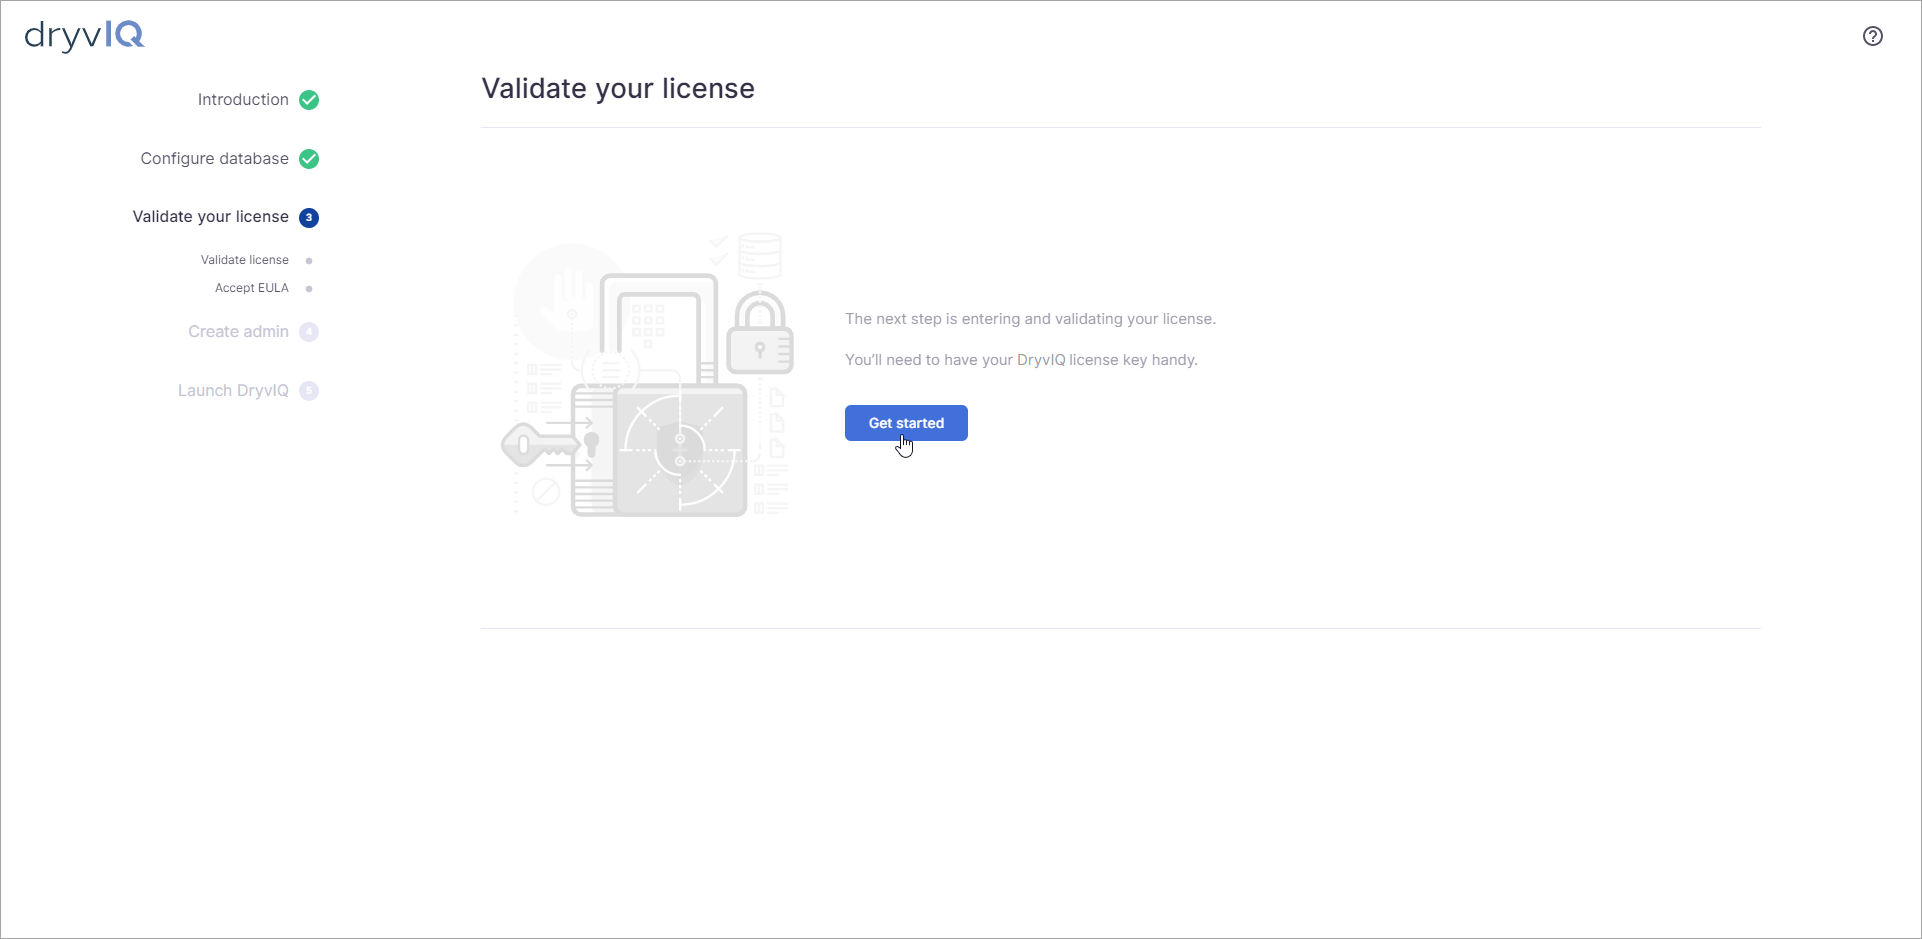
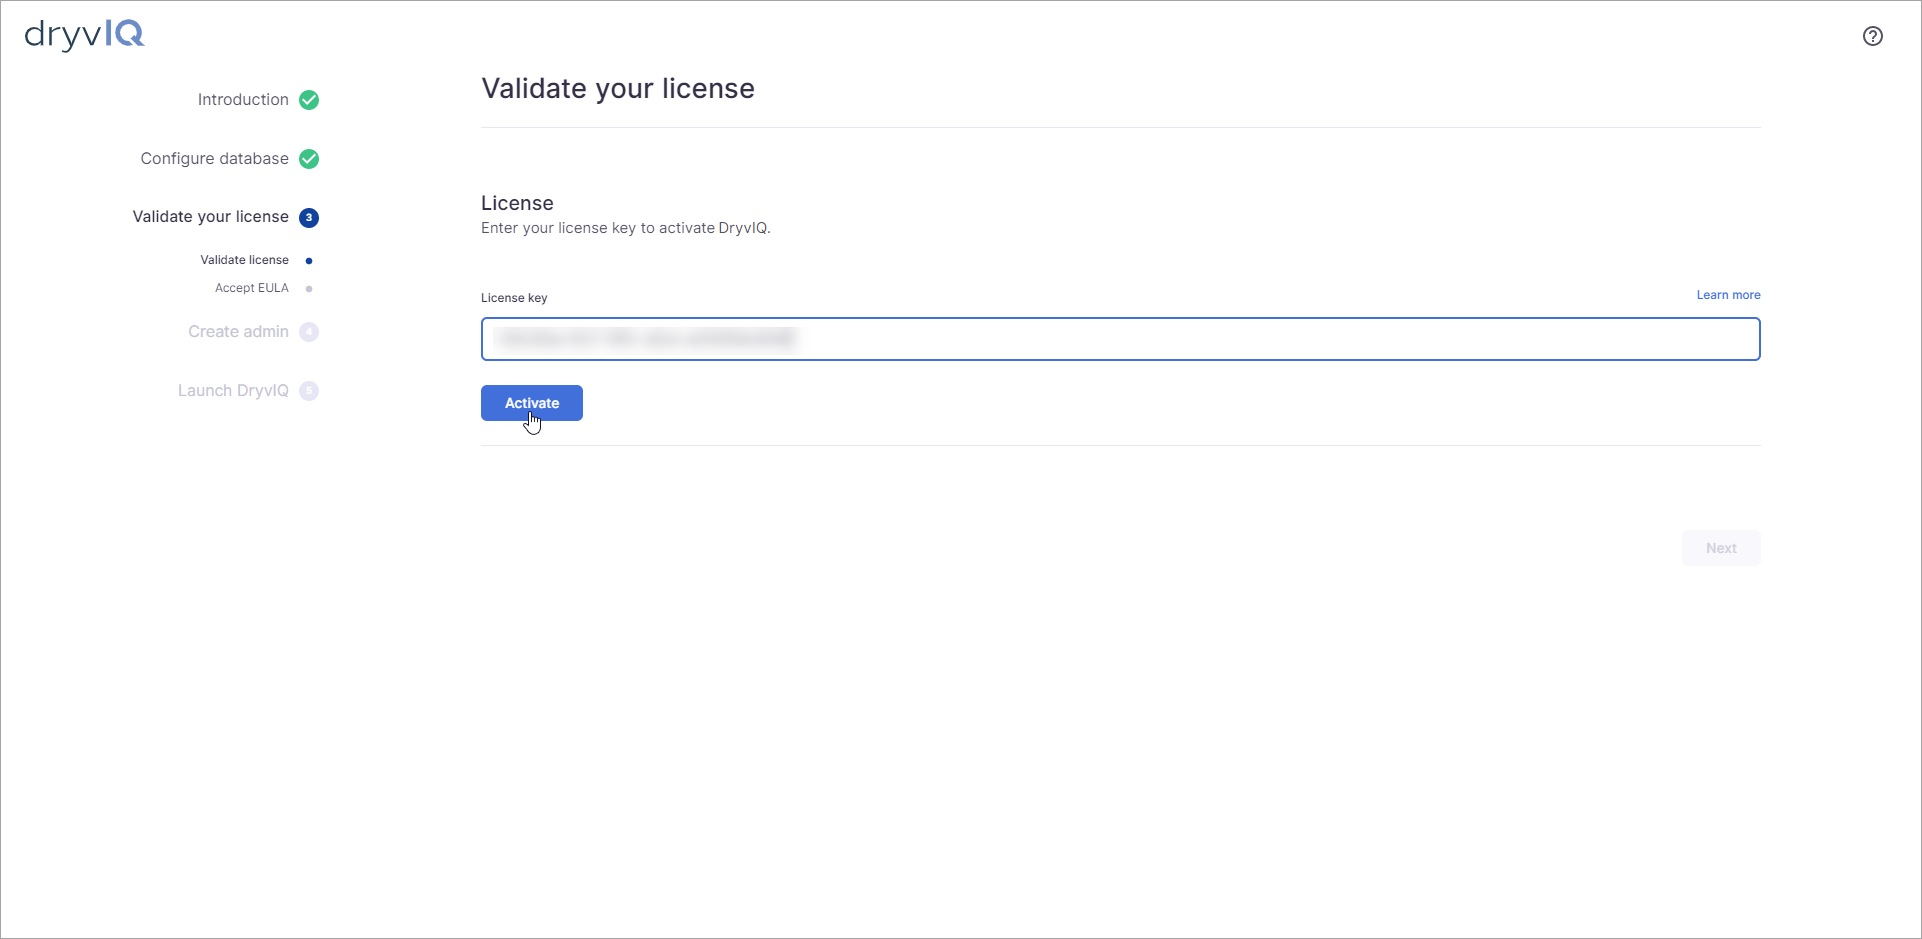
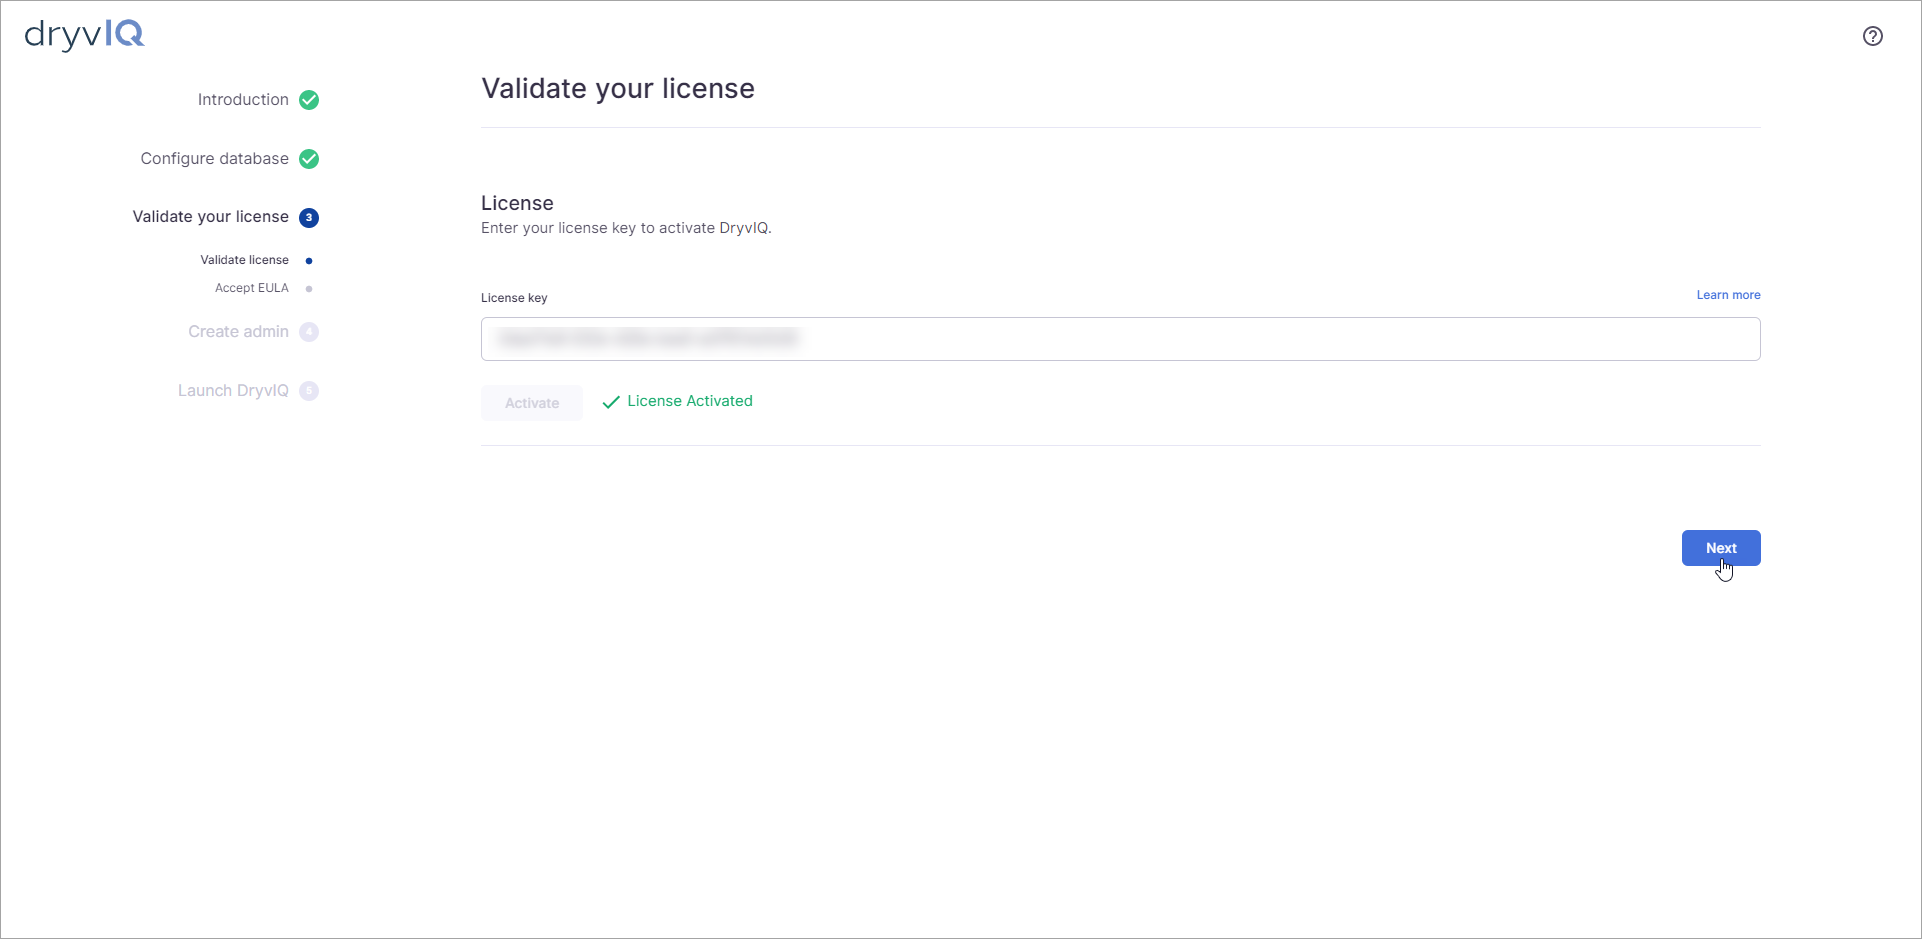
Enter your license key and select Activate.
...
You will see a green “License Activated” message indicating the license was activated
...
successfully
...
.
...
Select Next to continue.
...
Validate Your License | Troubleshooting
If something goes wrong, an error message will be displayed in a box below the Activate button.
Verify your license key was entered correctly and try to activate again.
Common causes of failure include:
Firewalls blocking port 443 for https
Firewalls blocking access to https://api.portalarchitects.com which is the address of our license server
SkySync not properly set up to use the corporate proxy server
SkySync uses the default proxy server specified for the user account under which it is executing
Ensure the proxy server is configured appropriately
Additional spaces or characters added accidentally with copy/paste of the license
| Note |
|---|
If you continue to have issues validating the license, please contact SkySync Support |
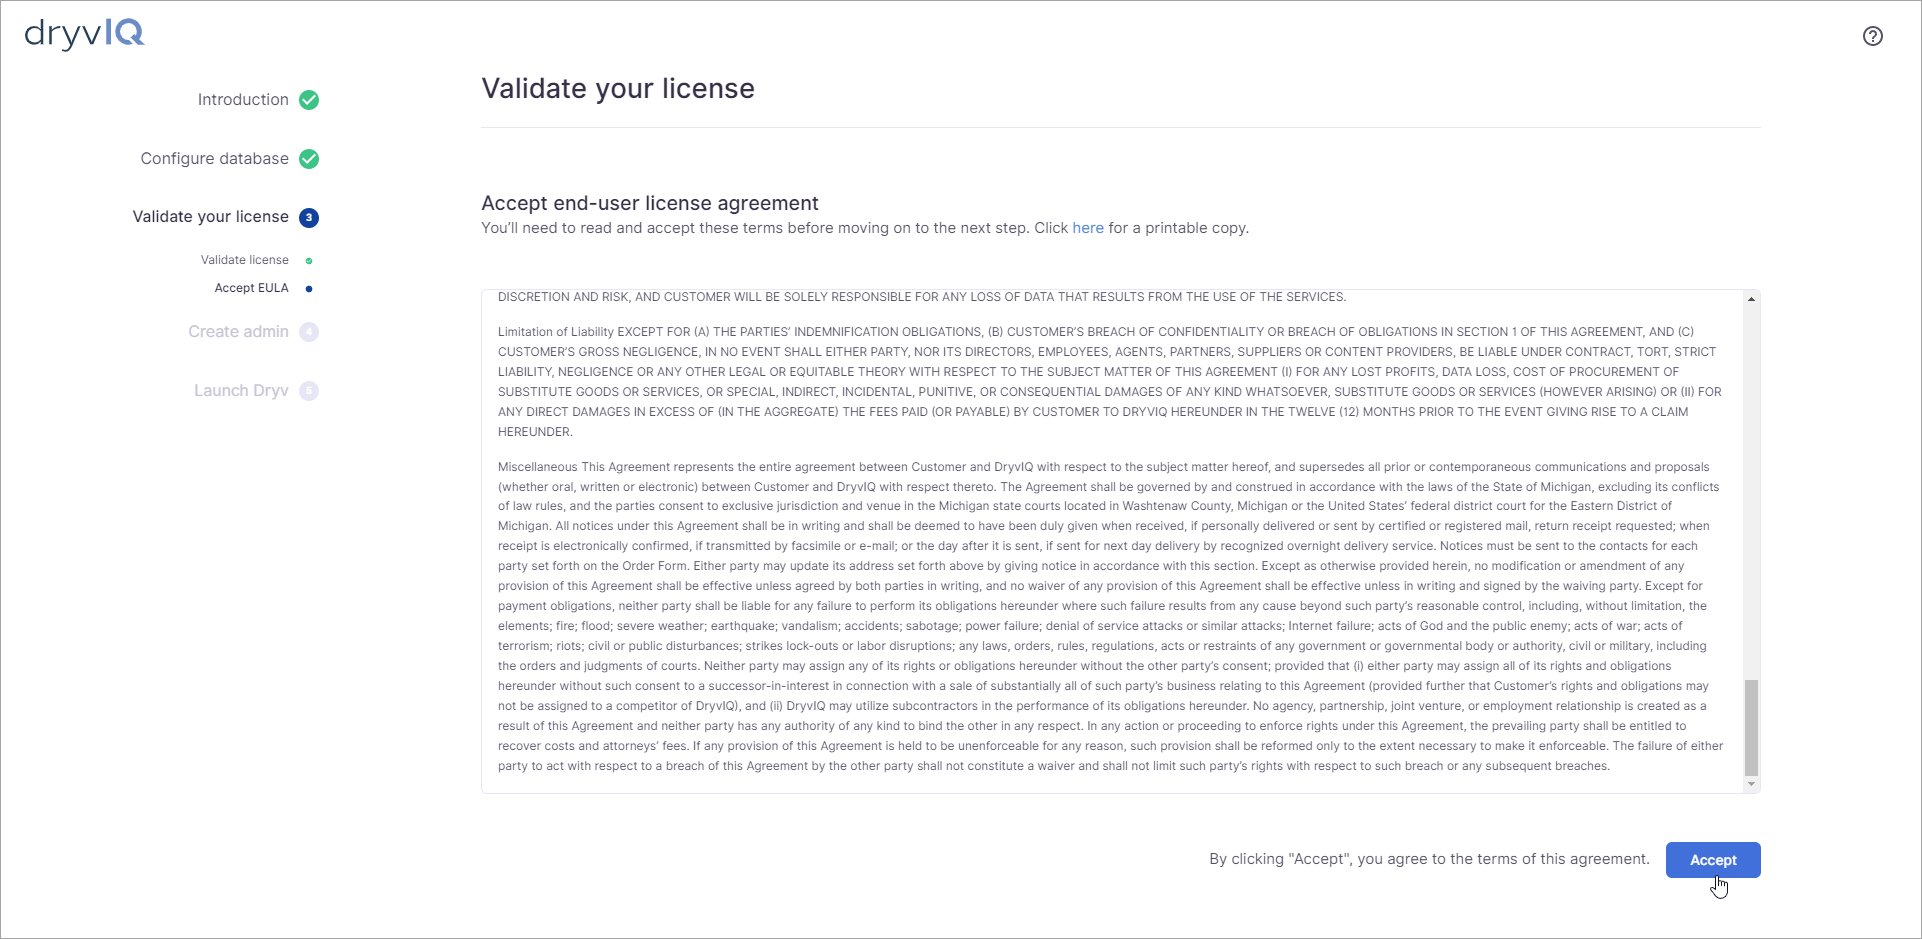
Validate Your License | Accept End-User License Agreement
Select Next and then Create Database. A loading screen will appear stating that your database is being configured. Once complete, you will be asked to restart SkySync.
| Info |
|---|
This will not restart your computer. Only the SkySync service will be restarted. |
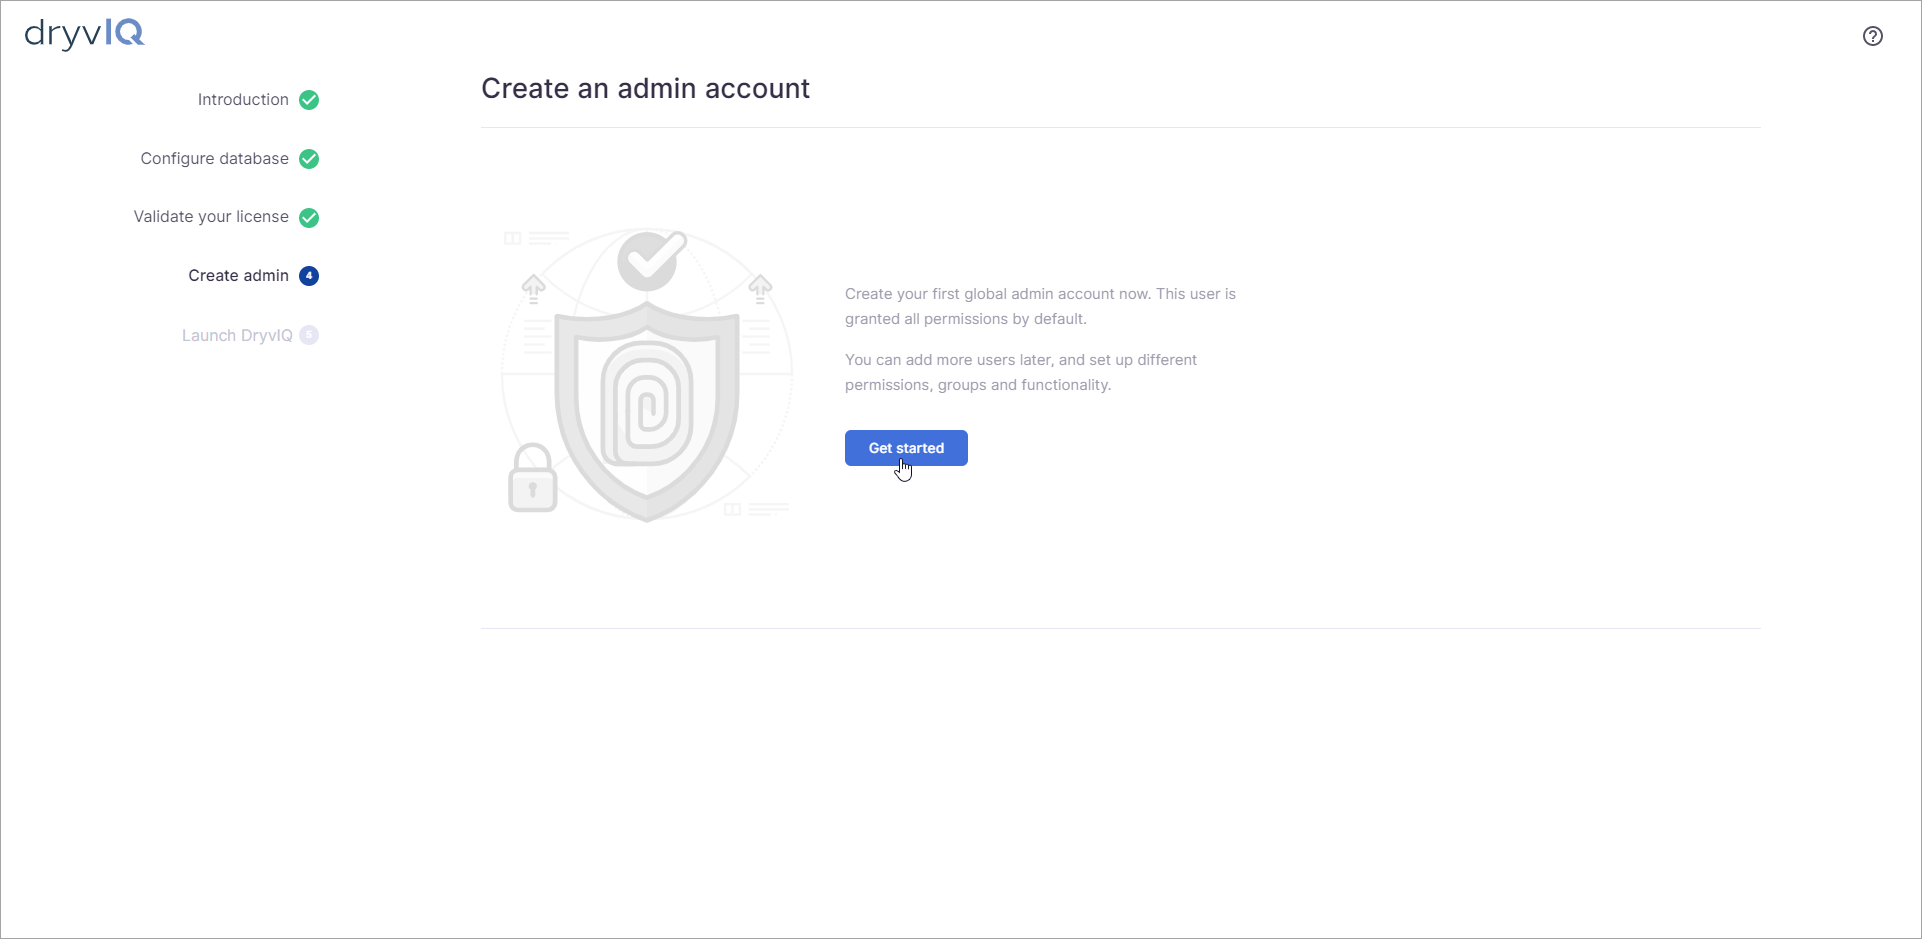
Create an Administrator Account
Create your first SkySync global admin account now. This user is granted all permissions by default. You can add more users later and set up different permissions, groups, and functionality.
Select Get started.
...
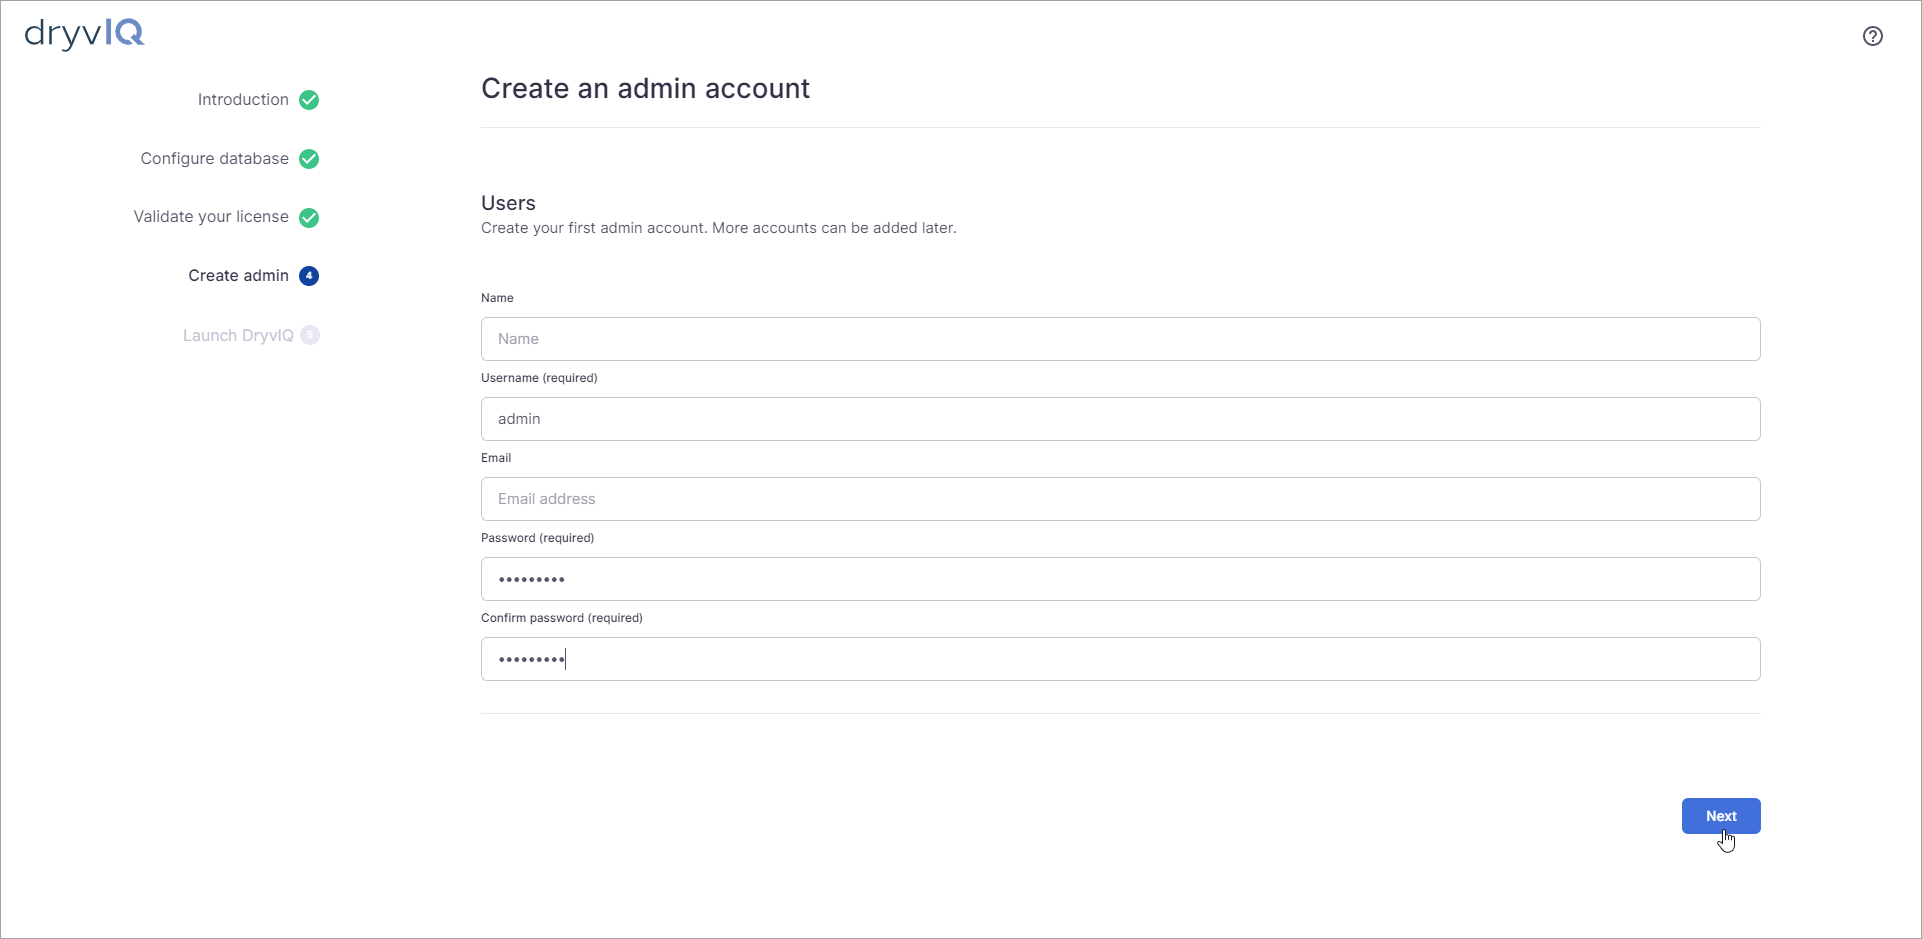
Create your administrator user for SkySync. By default, this user has access to everything in the application.
Username and Password are the only required fields.
Username must be 4-255 characters.
Passwords must meet the following requirements:
At least 8 characters
At least one uppercase letter (A-Z)
At least one digit (0-9)
At least one non-alphanumeric character (!@#$%)
Cannot contain the username
When complete, click Next and review the settings on the following page.
...
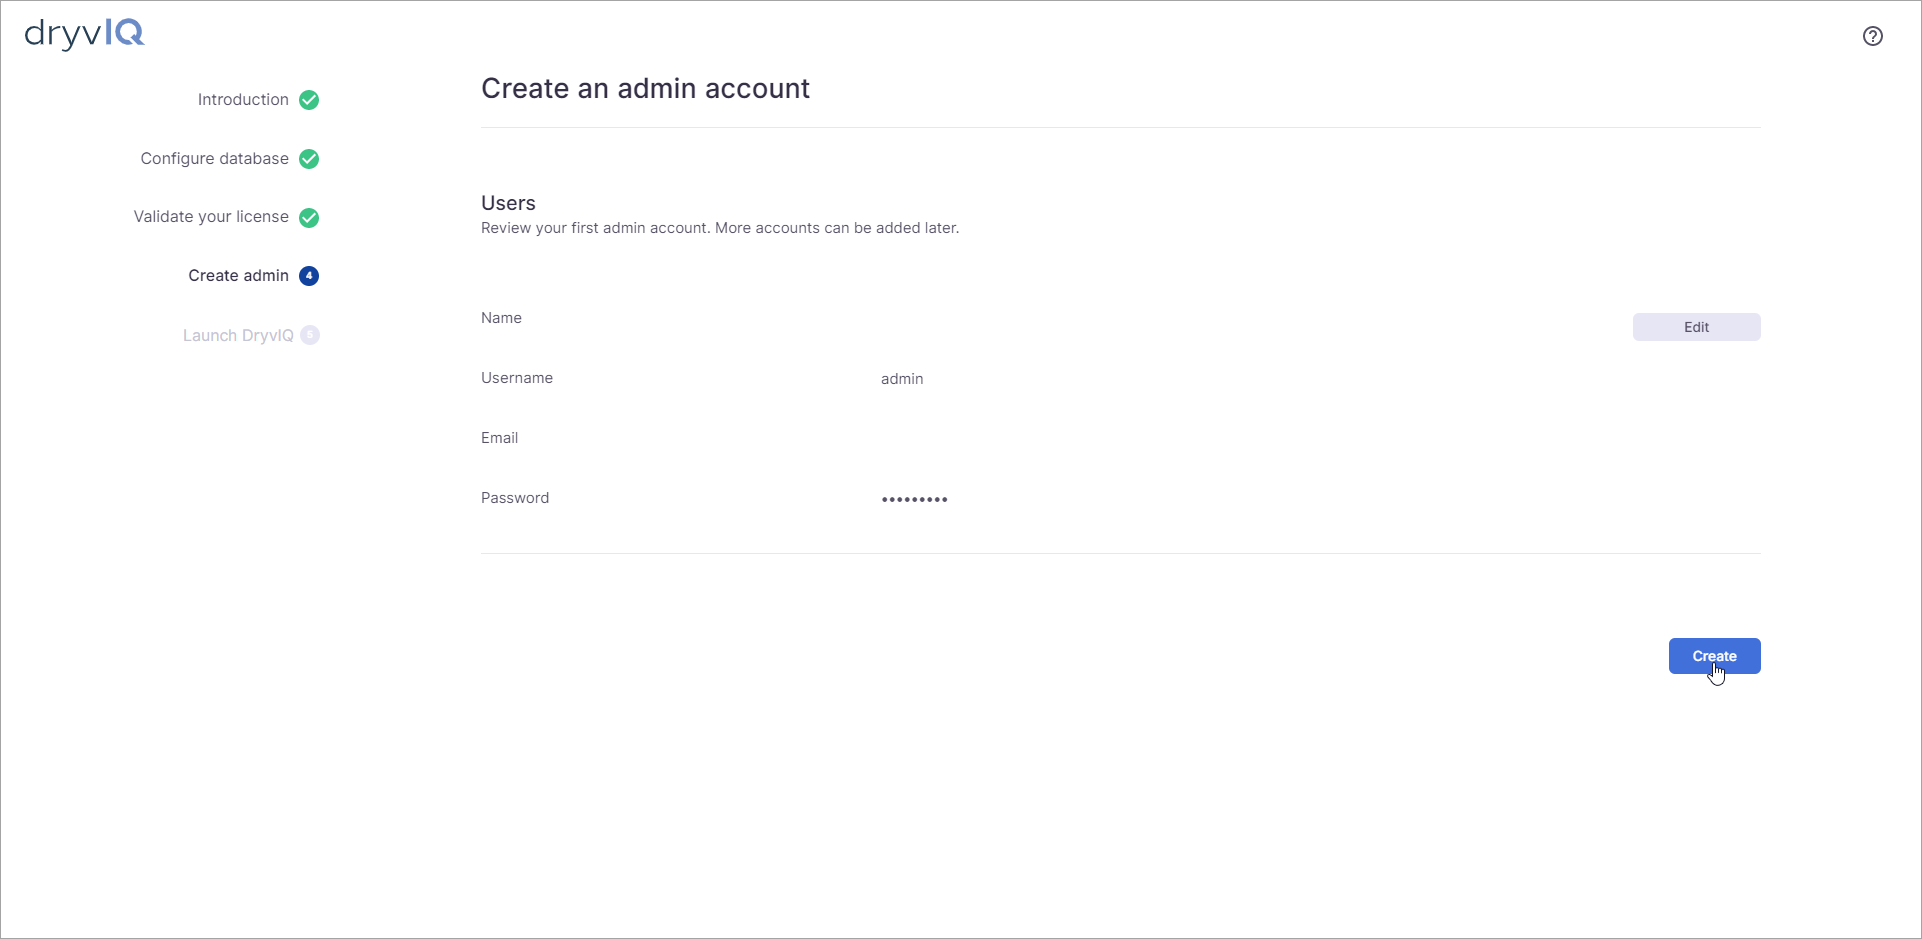
If you are satisfied with your credentials, click Create.
...
You will then be prompted to "Restart and launch." The restart and launch may take a few seconds to process. No loading icon is present during this time, but the browser will reload once the restart is complete.
| Info |
|---|
This will not restart your computer. Only the SkySync service will be restarted. |
...
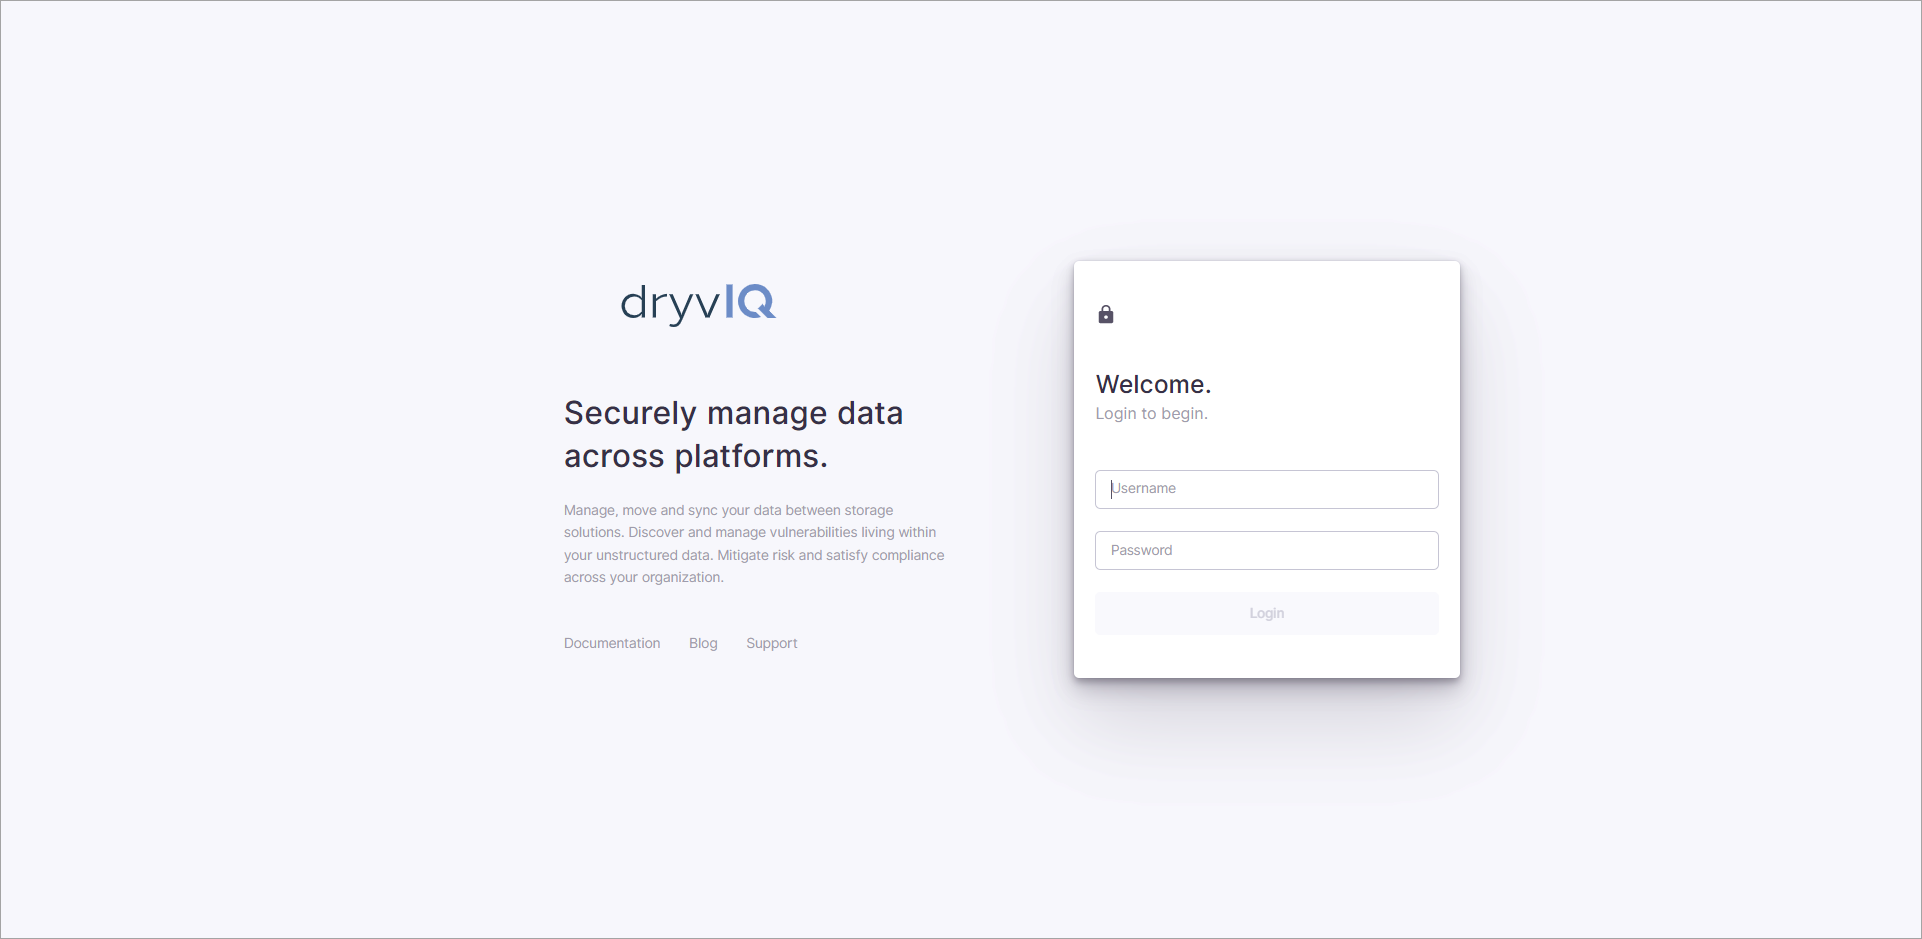
Log in with your Administrator credentials and begin using SkySync!
...
(If you receive an error, refer to the DryvIQ Platform Installation Troubleshooting for possible causes.)
Read the end-user license agreement and select Accept.
Next, you need to create the administrator account for the application. Select Get Started to begin.
Enter the information you want to use for the administrator account. Note that only the Username and Password fields are required.
Select Next to continue.
Review the information. You can select Edit to return to the previous screen to edit the administrator account information. Otherwise, select Create to create the account.
You are prompted a final time to restart the DryvIQ service. Select Restart and launch.
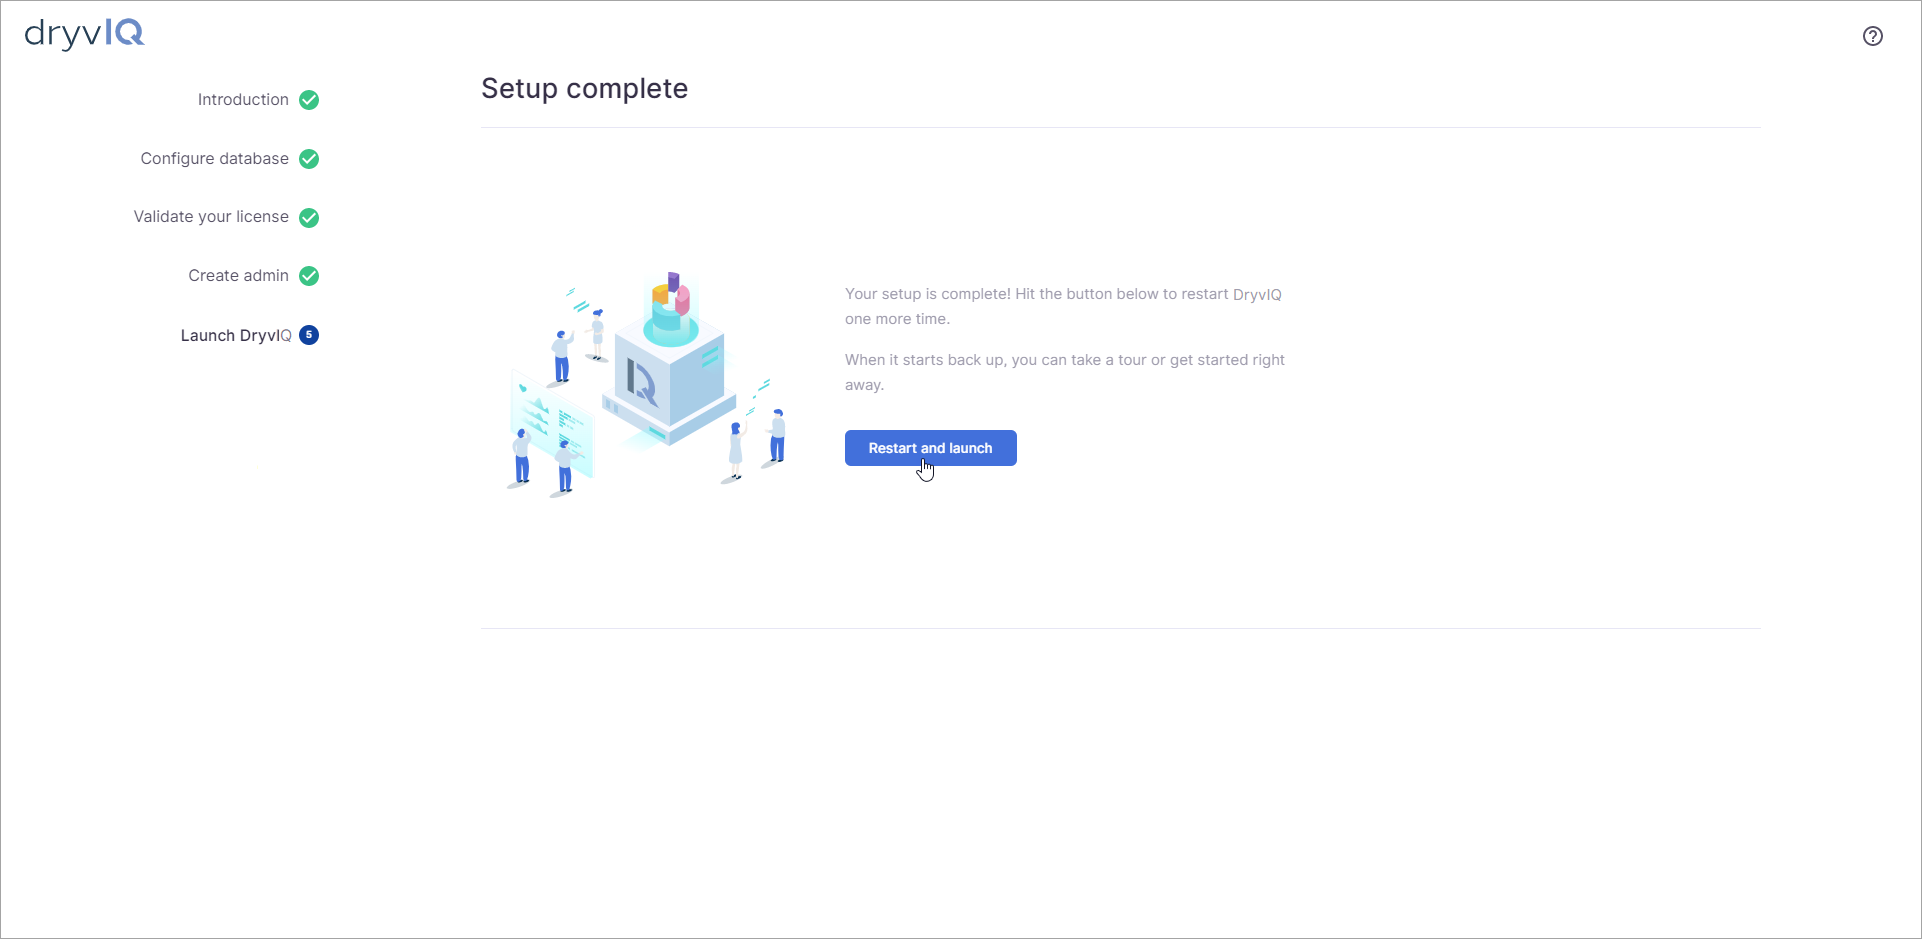
When the service finishes restarting, the DryvIQ Platform launches.
Enter the credentials you used to create the administrator account to log in to the application and complete additional setup.
Congratulations! You've now successfully installed DryvIQ.